
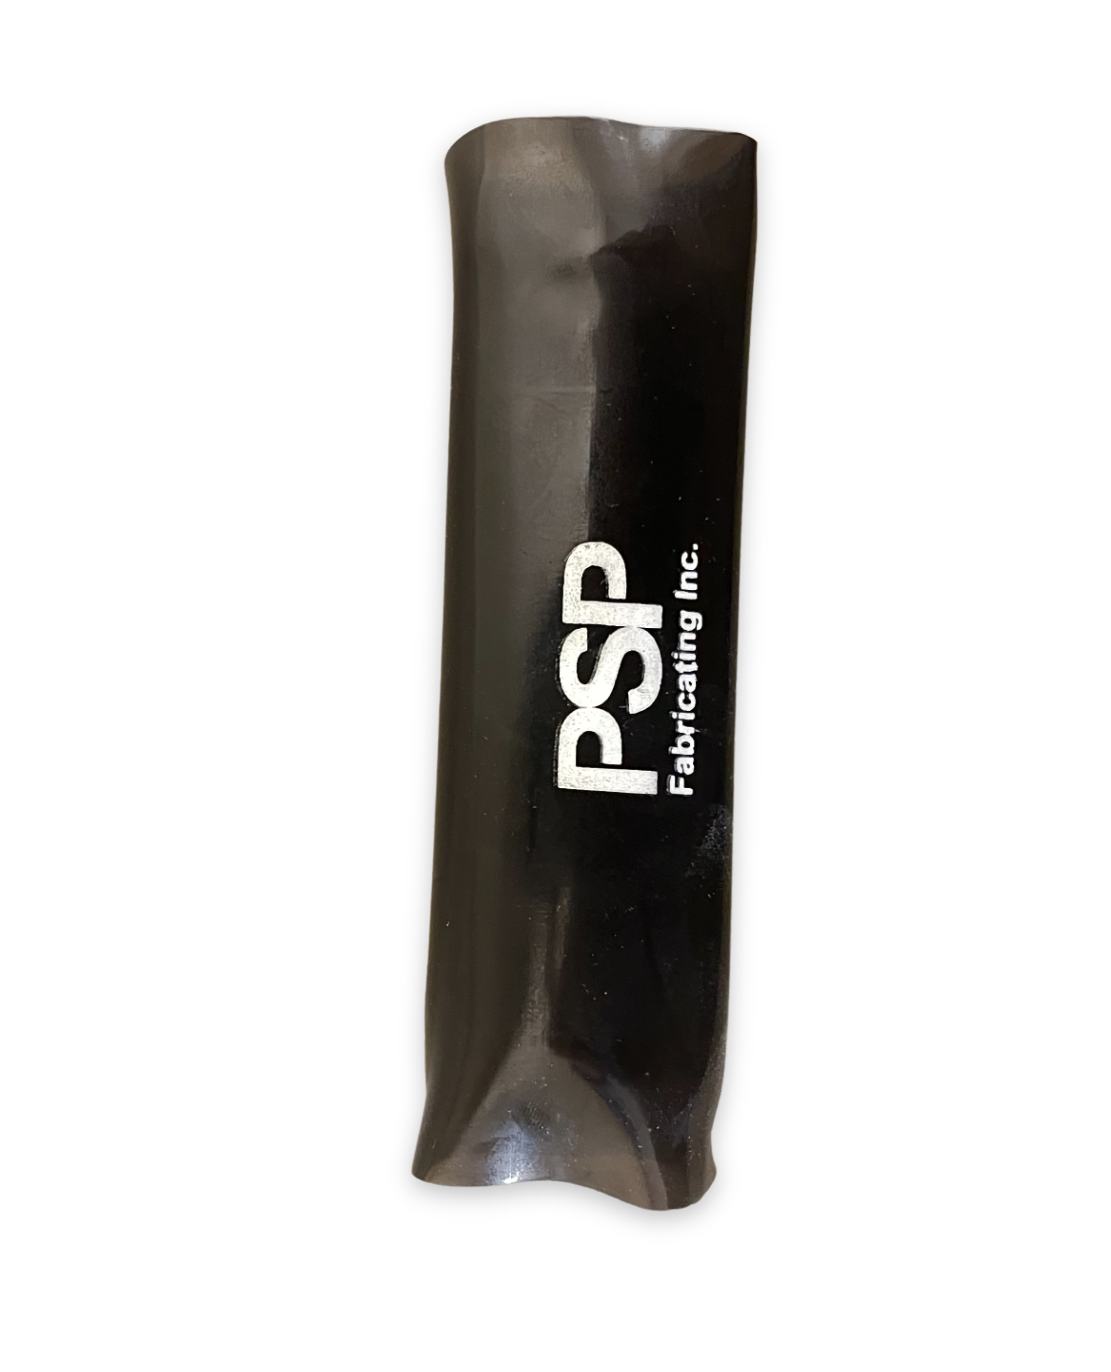
Safety Covers
Safety Covers
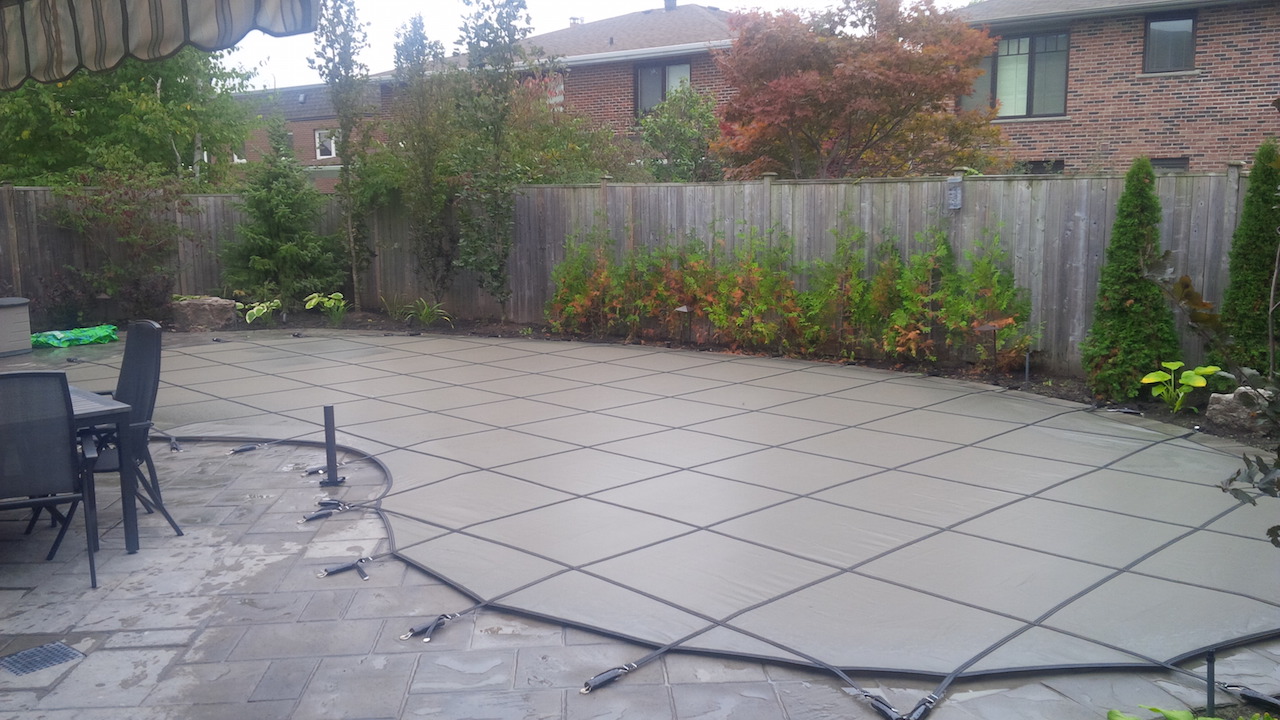
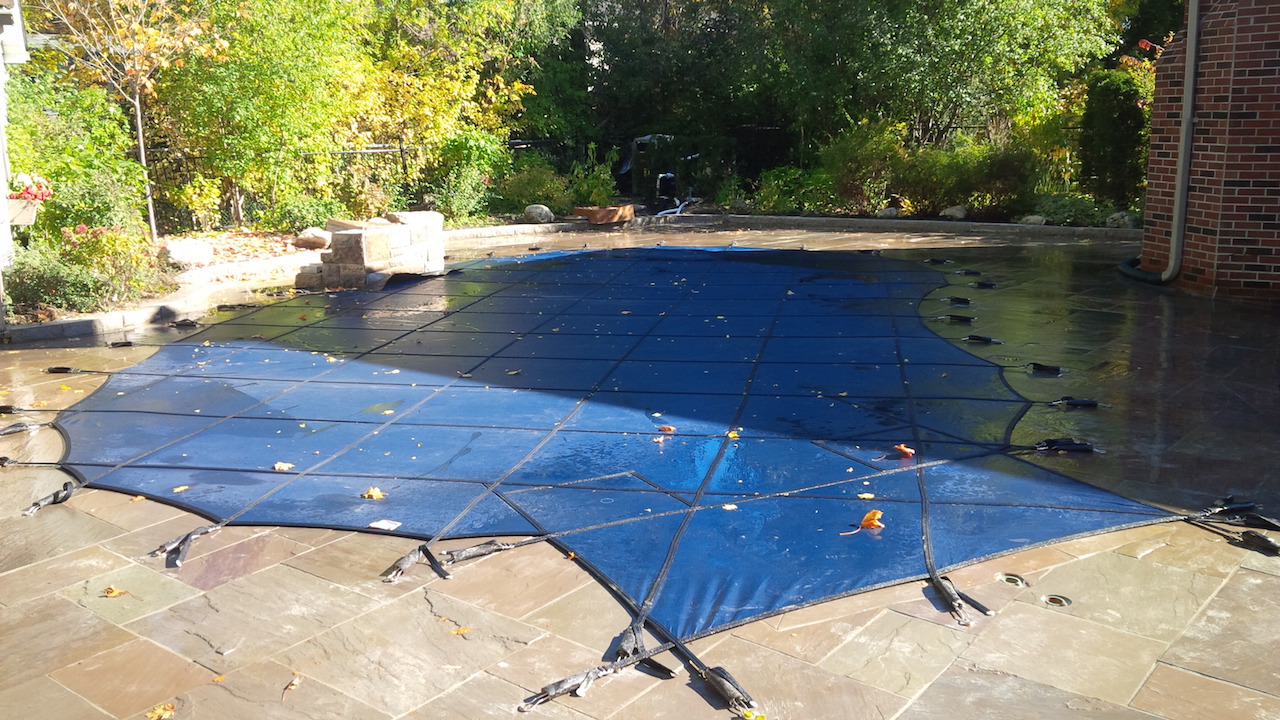
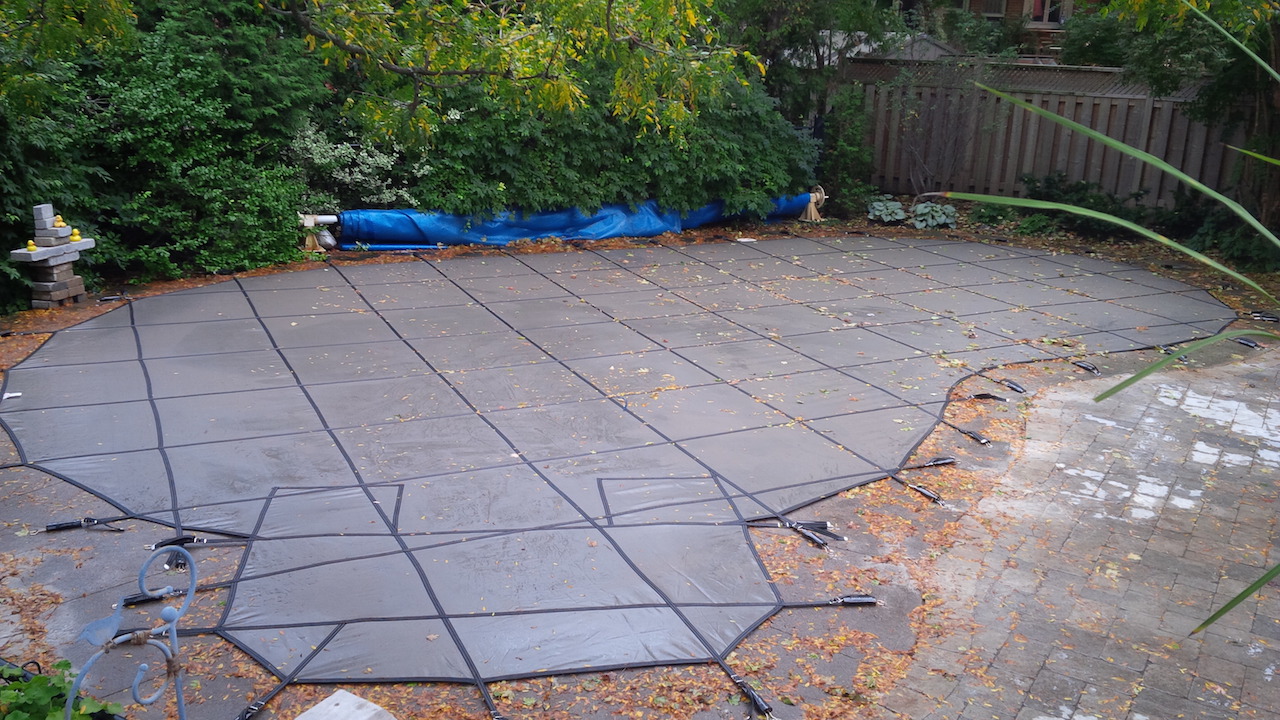
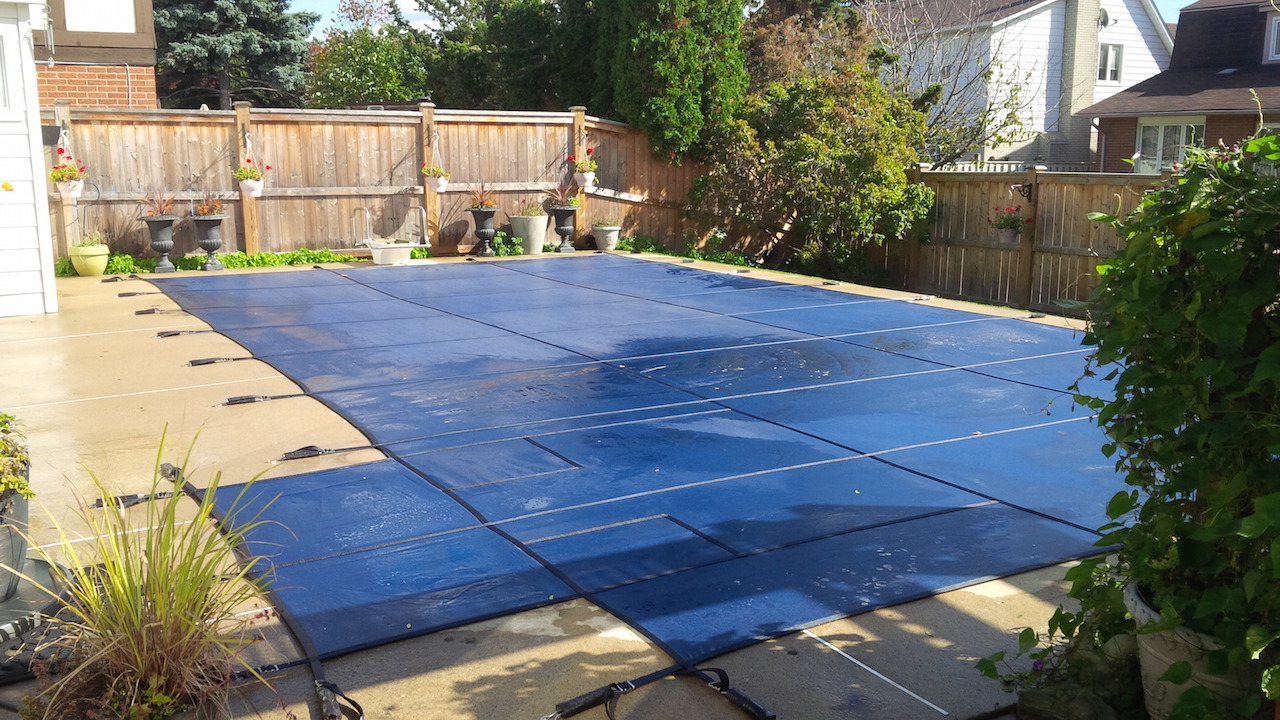
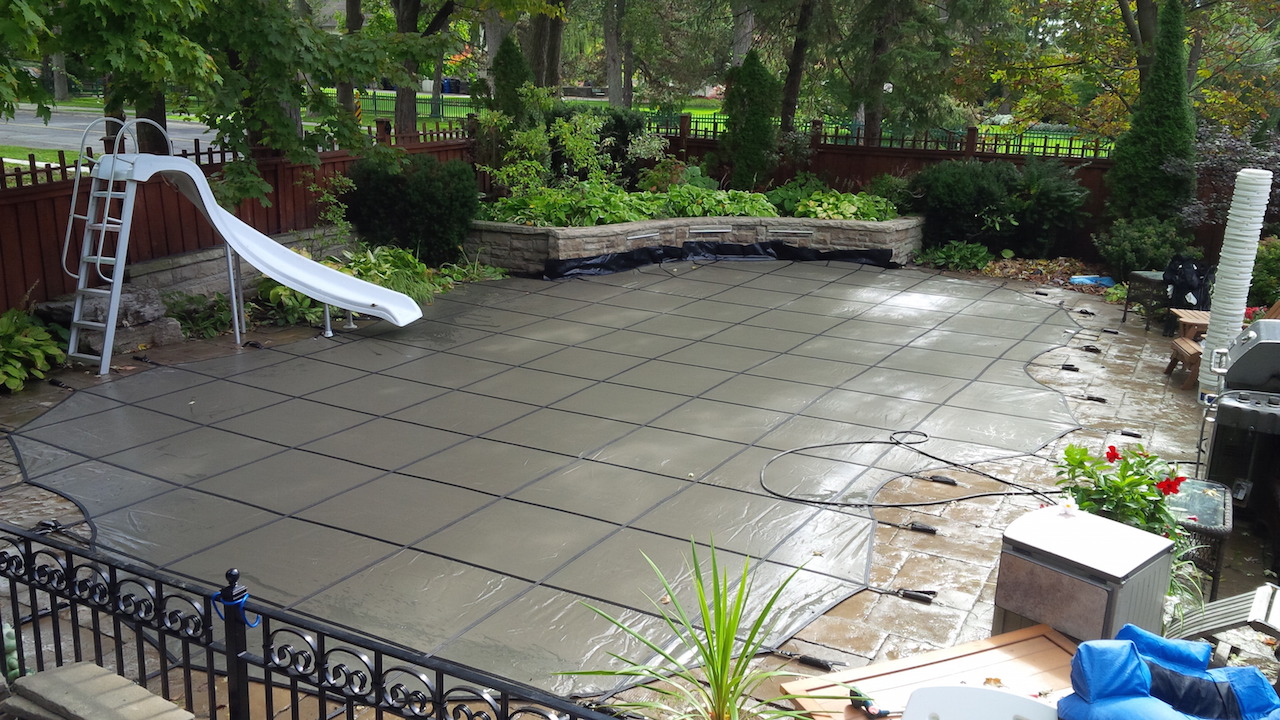
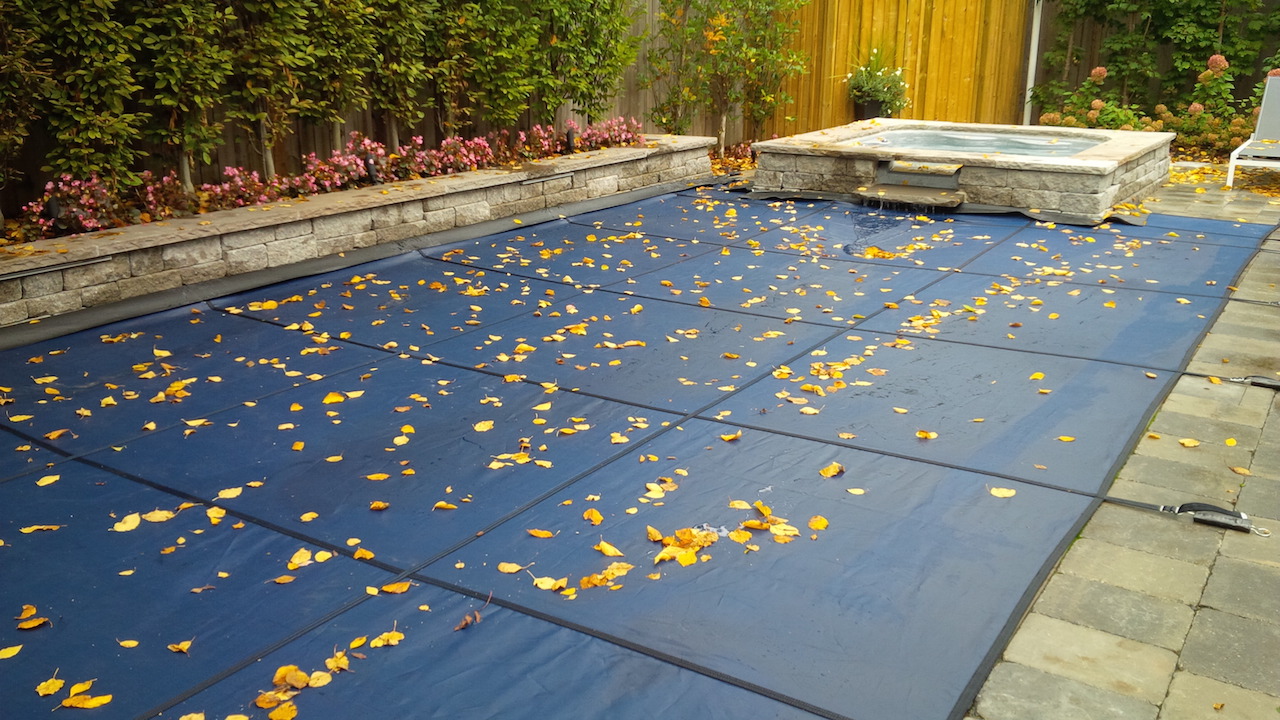
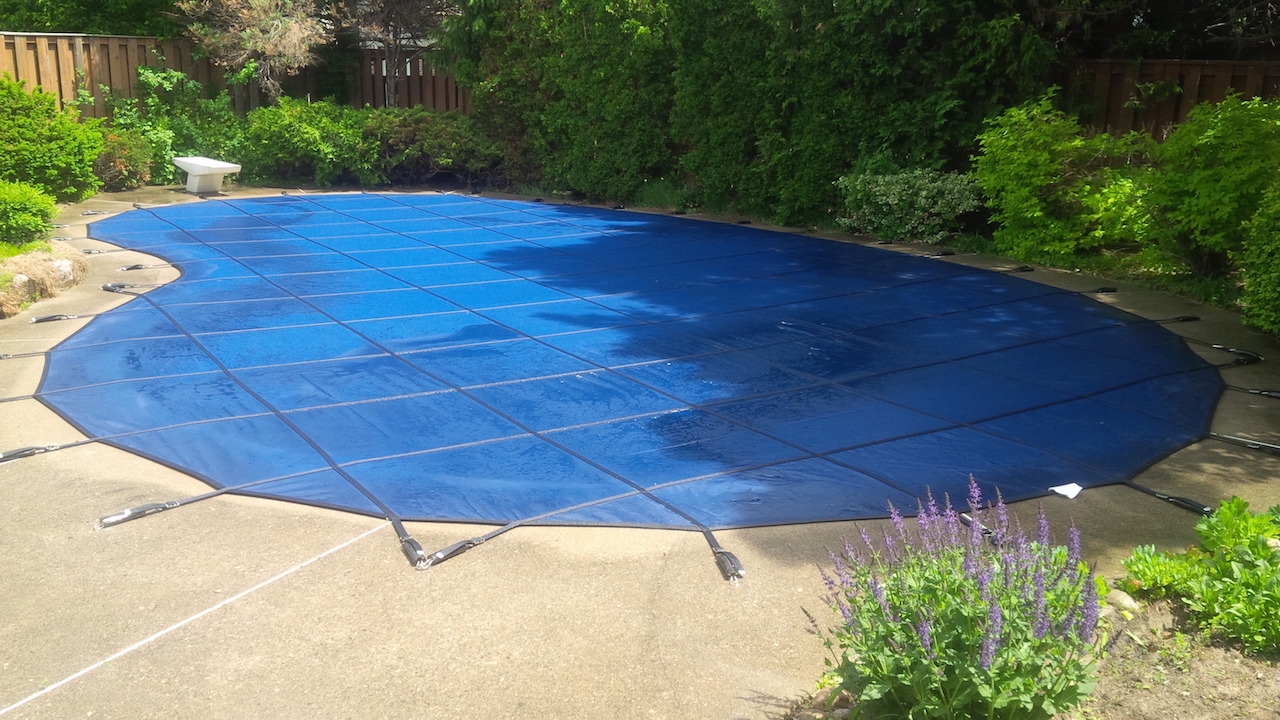
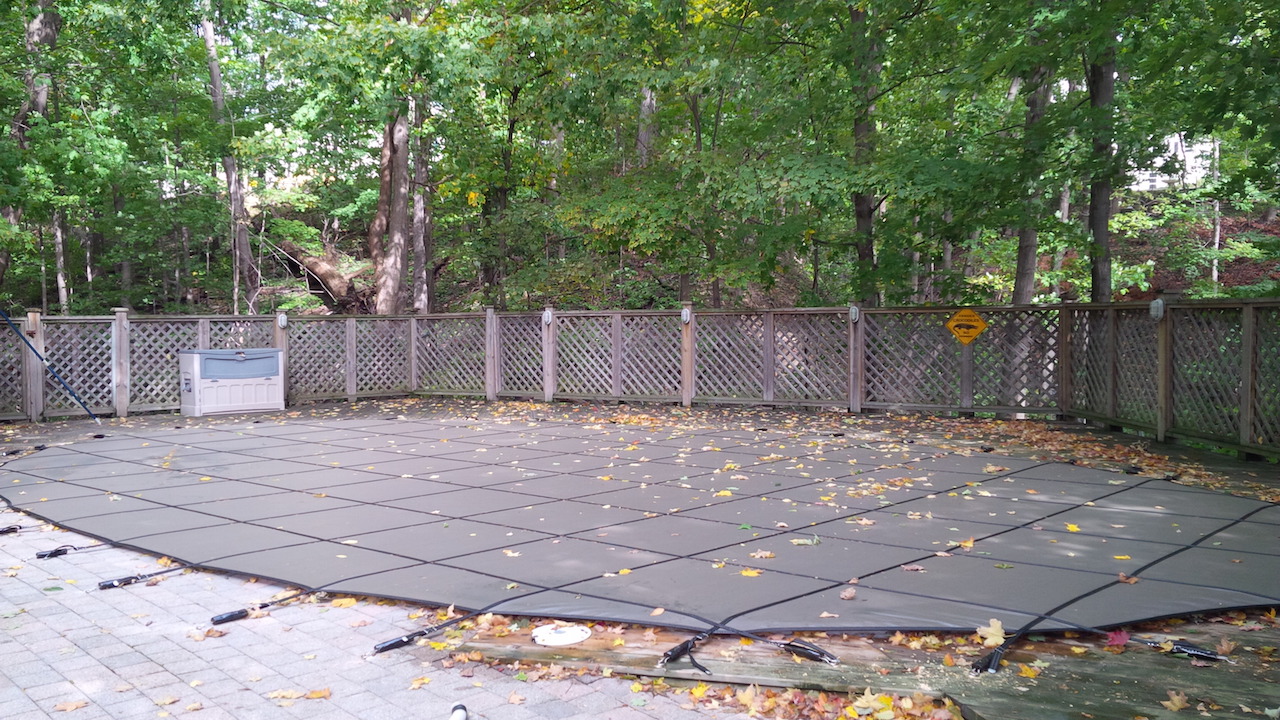
Poolmaster wants you to enjoy your backyard while ensuring safety at all times. Our SAFETY COVERS are manufactured with quality dense weave material, heavy duty springs / hardware, are available in multiple colours, 3’x3′ and 5’x5′ grids and are able to be designed to fit any shape pool.
Why a Safety Cover?
- Safety: Eliminate the risk of family or animals falling in.
- Appearance: Mesh fabric allows water/snow to filter through. No more stagnant water in the spring or fall.
- Easy To Handle: Lightweight material allows for easy installation and removal.
Colour Options
Taupe Blue Green Grey Black


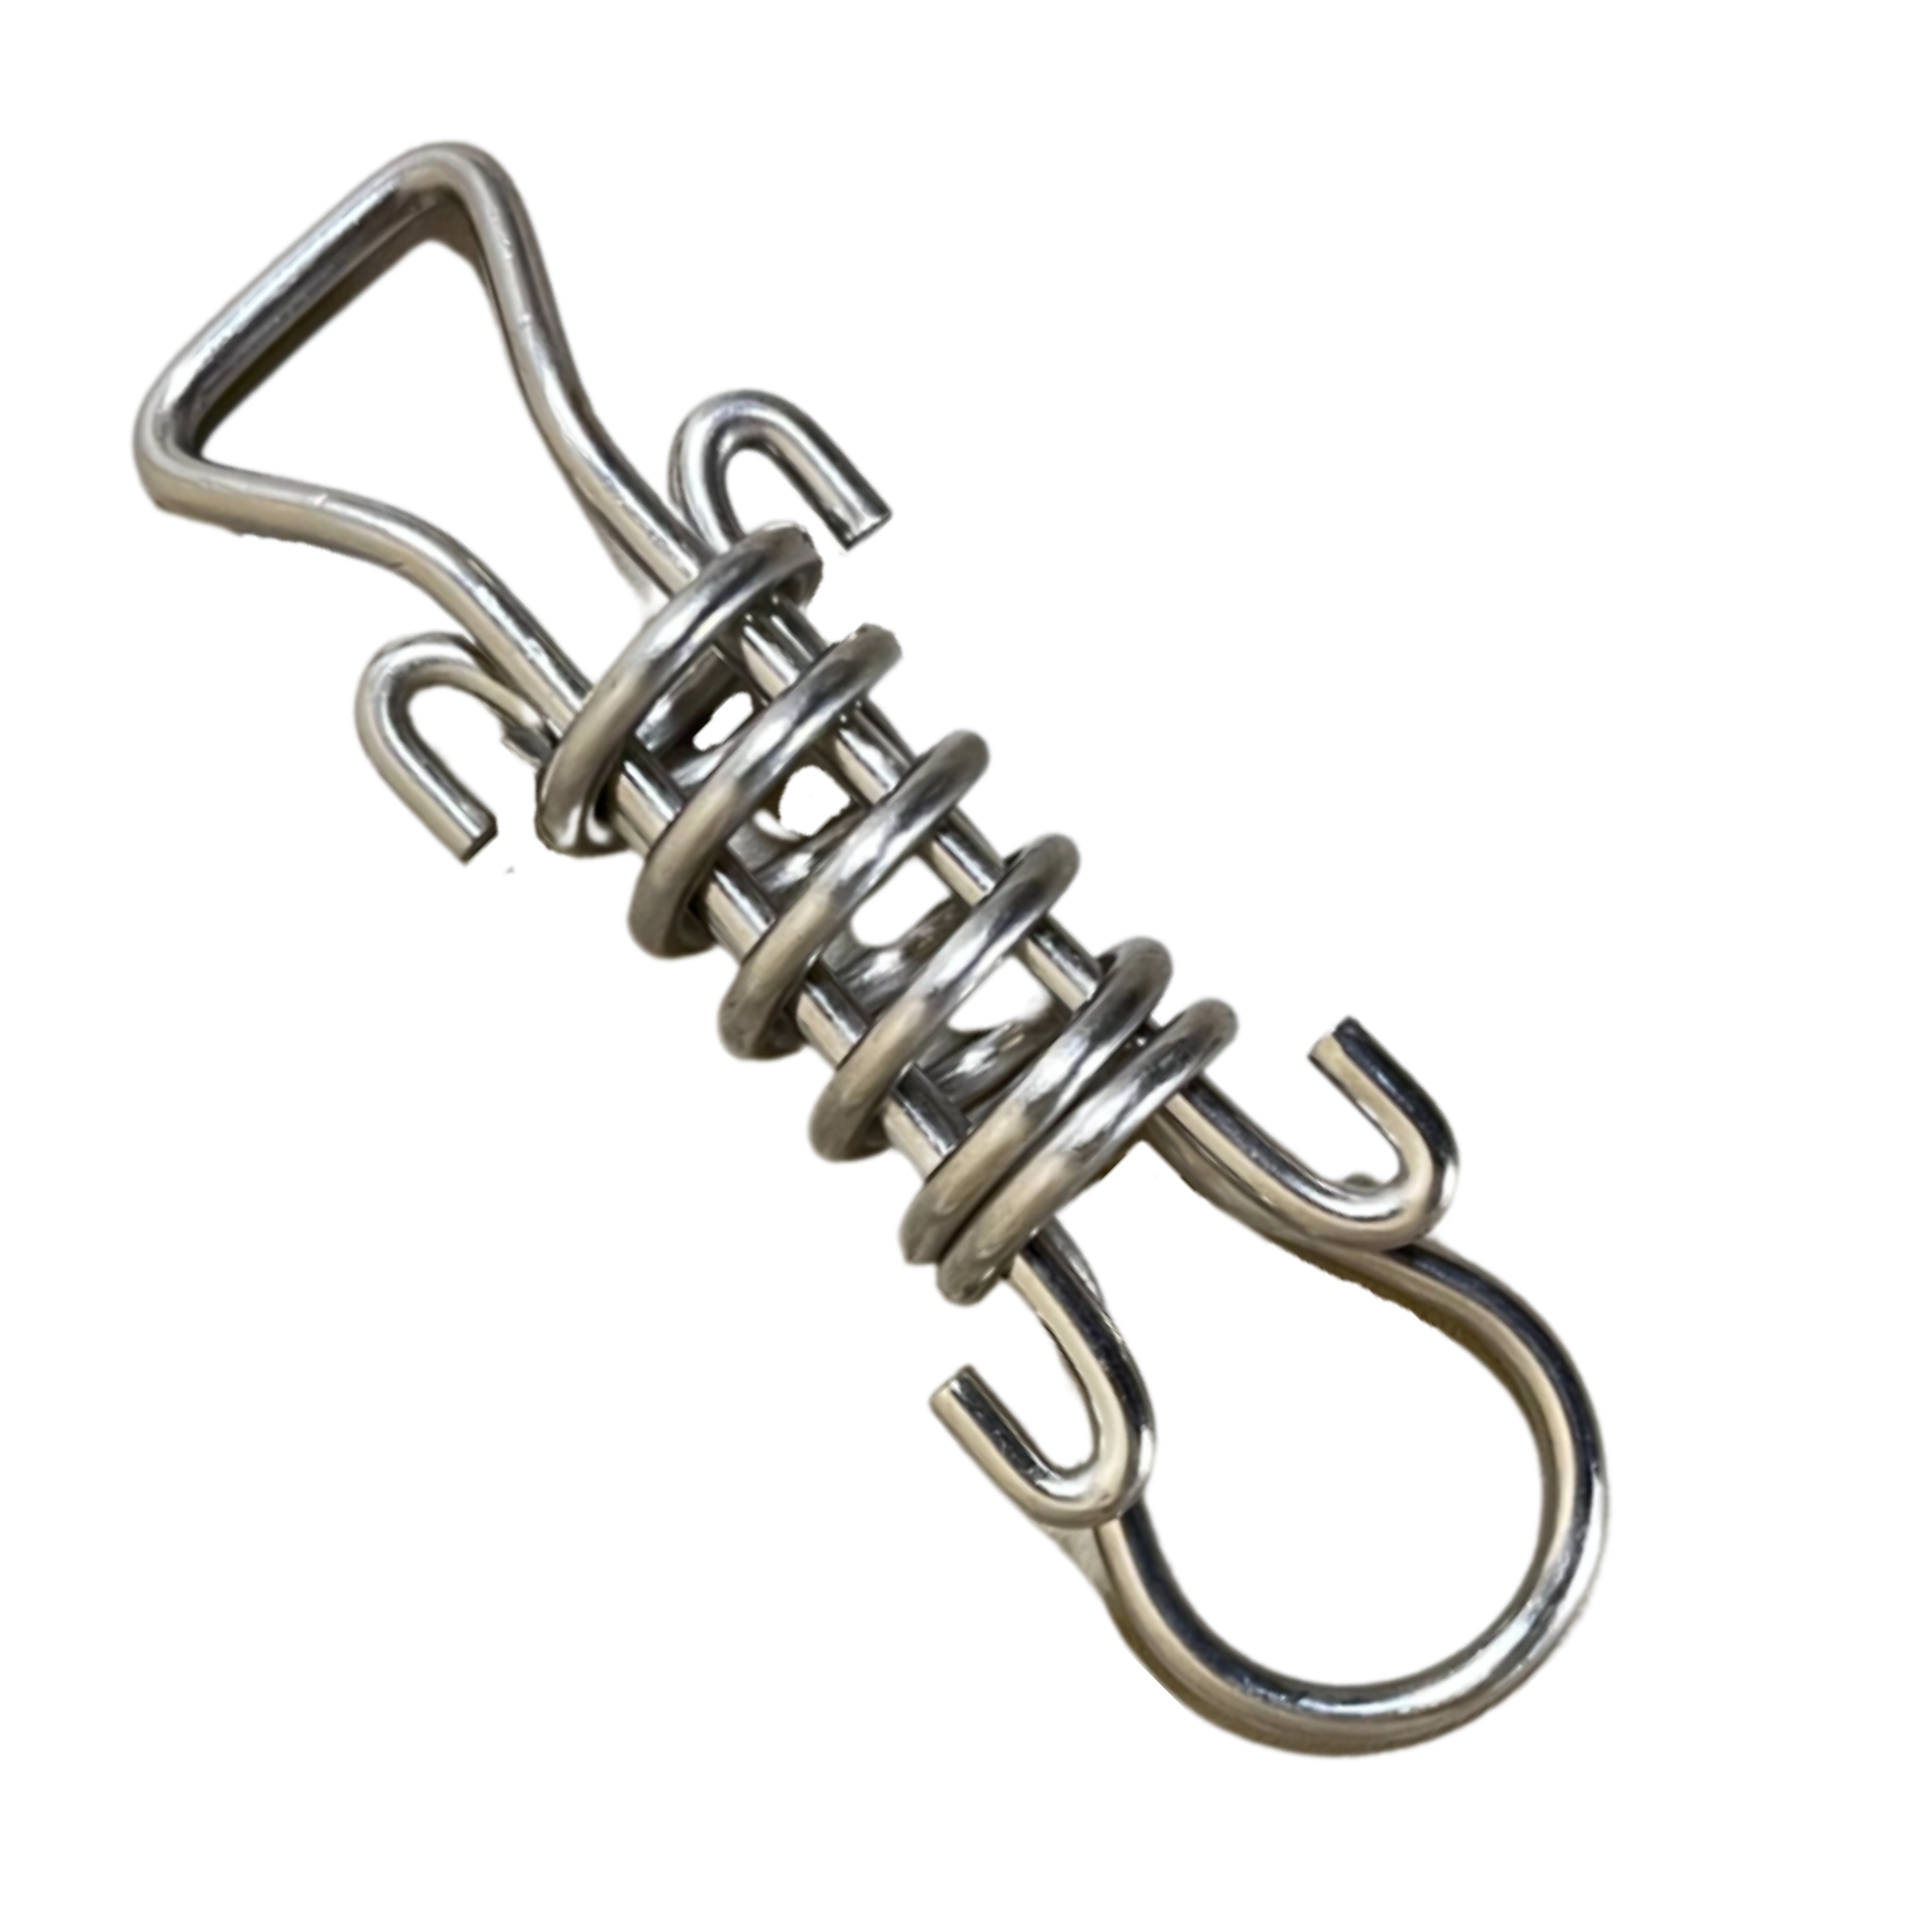
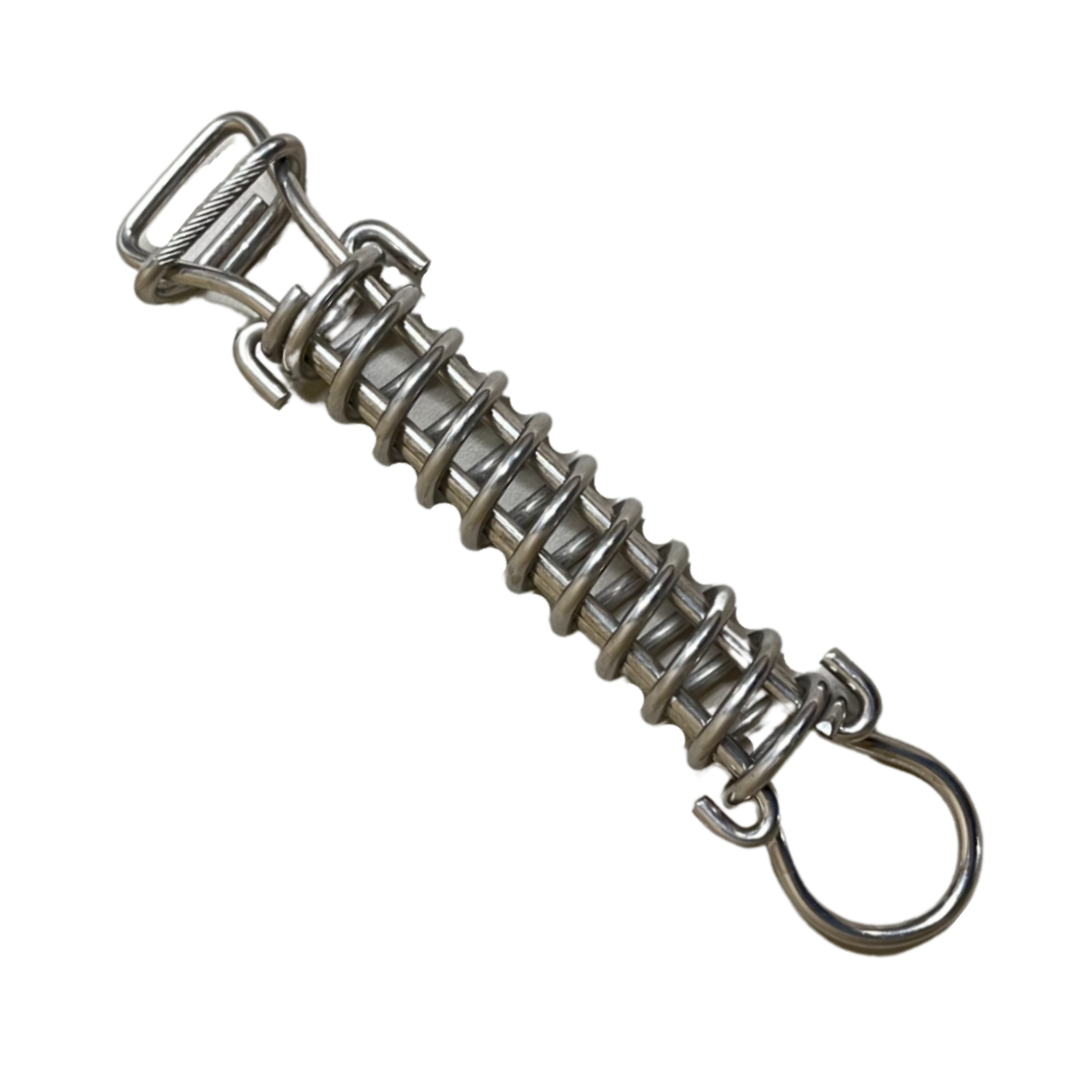
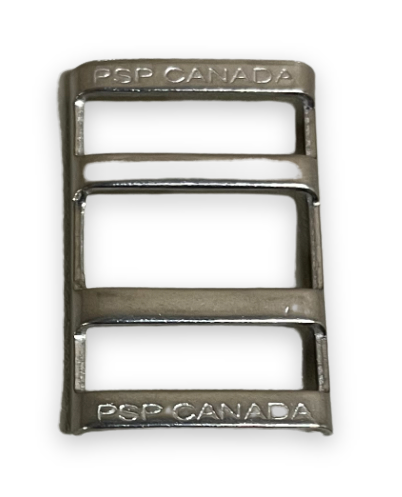
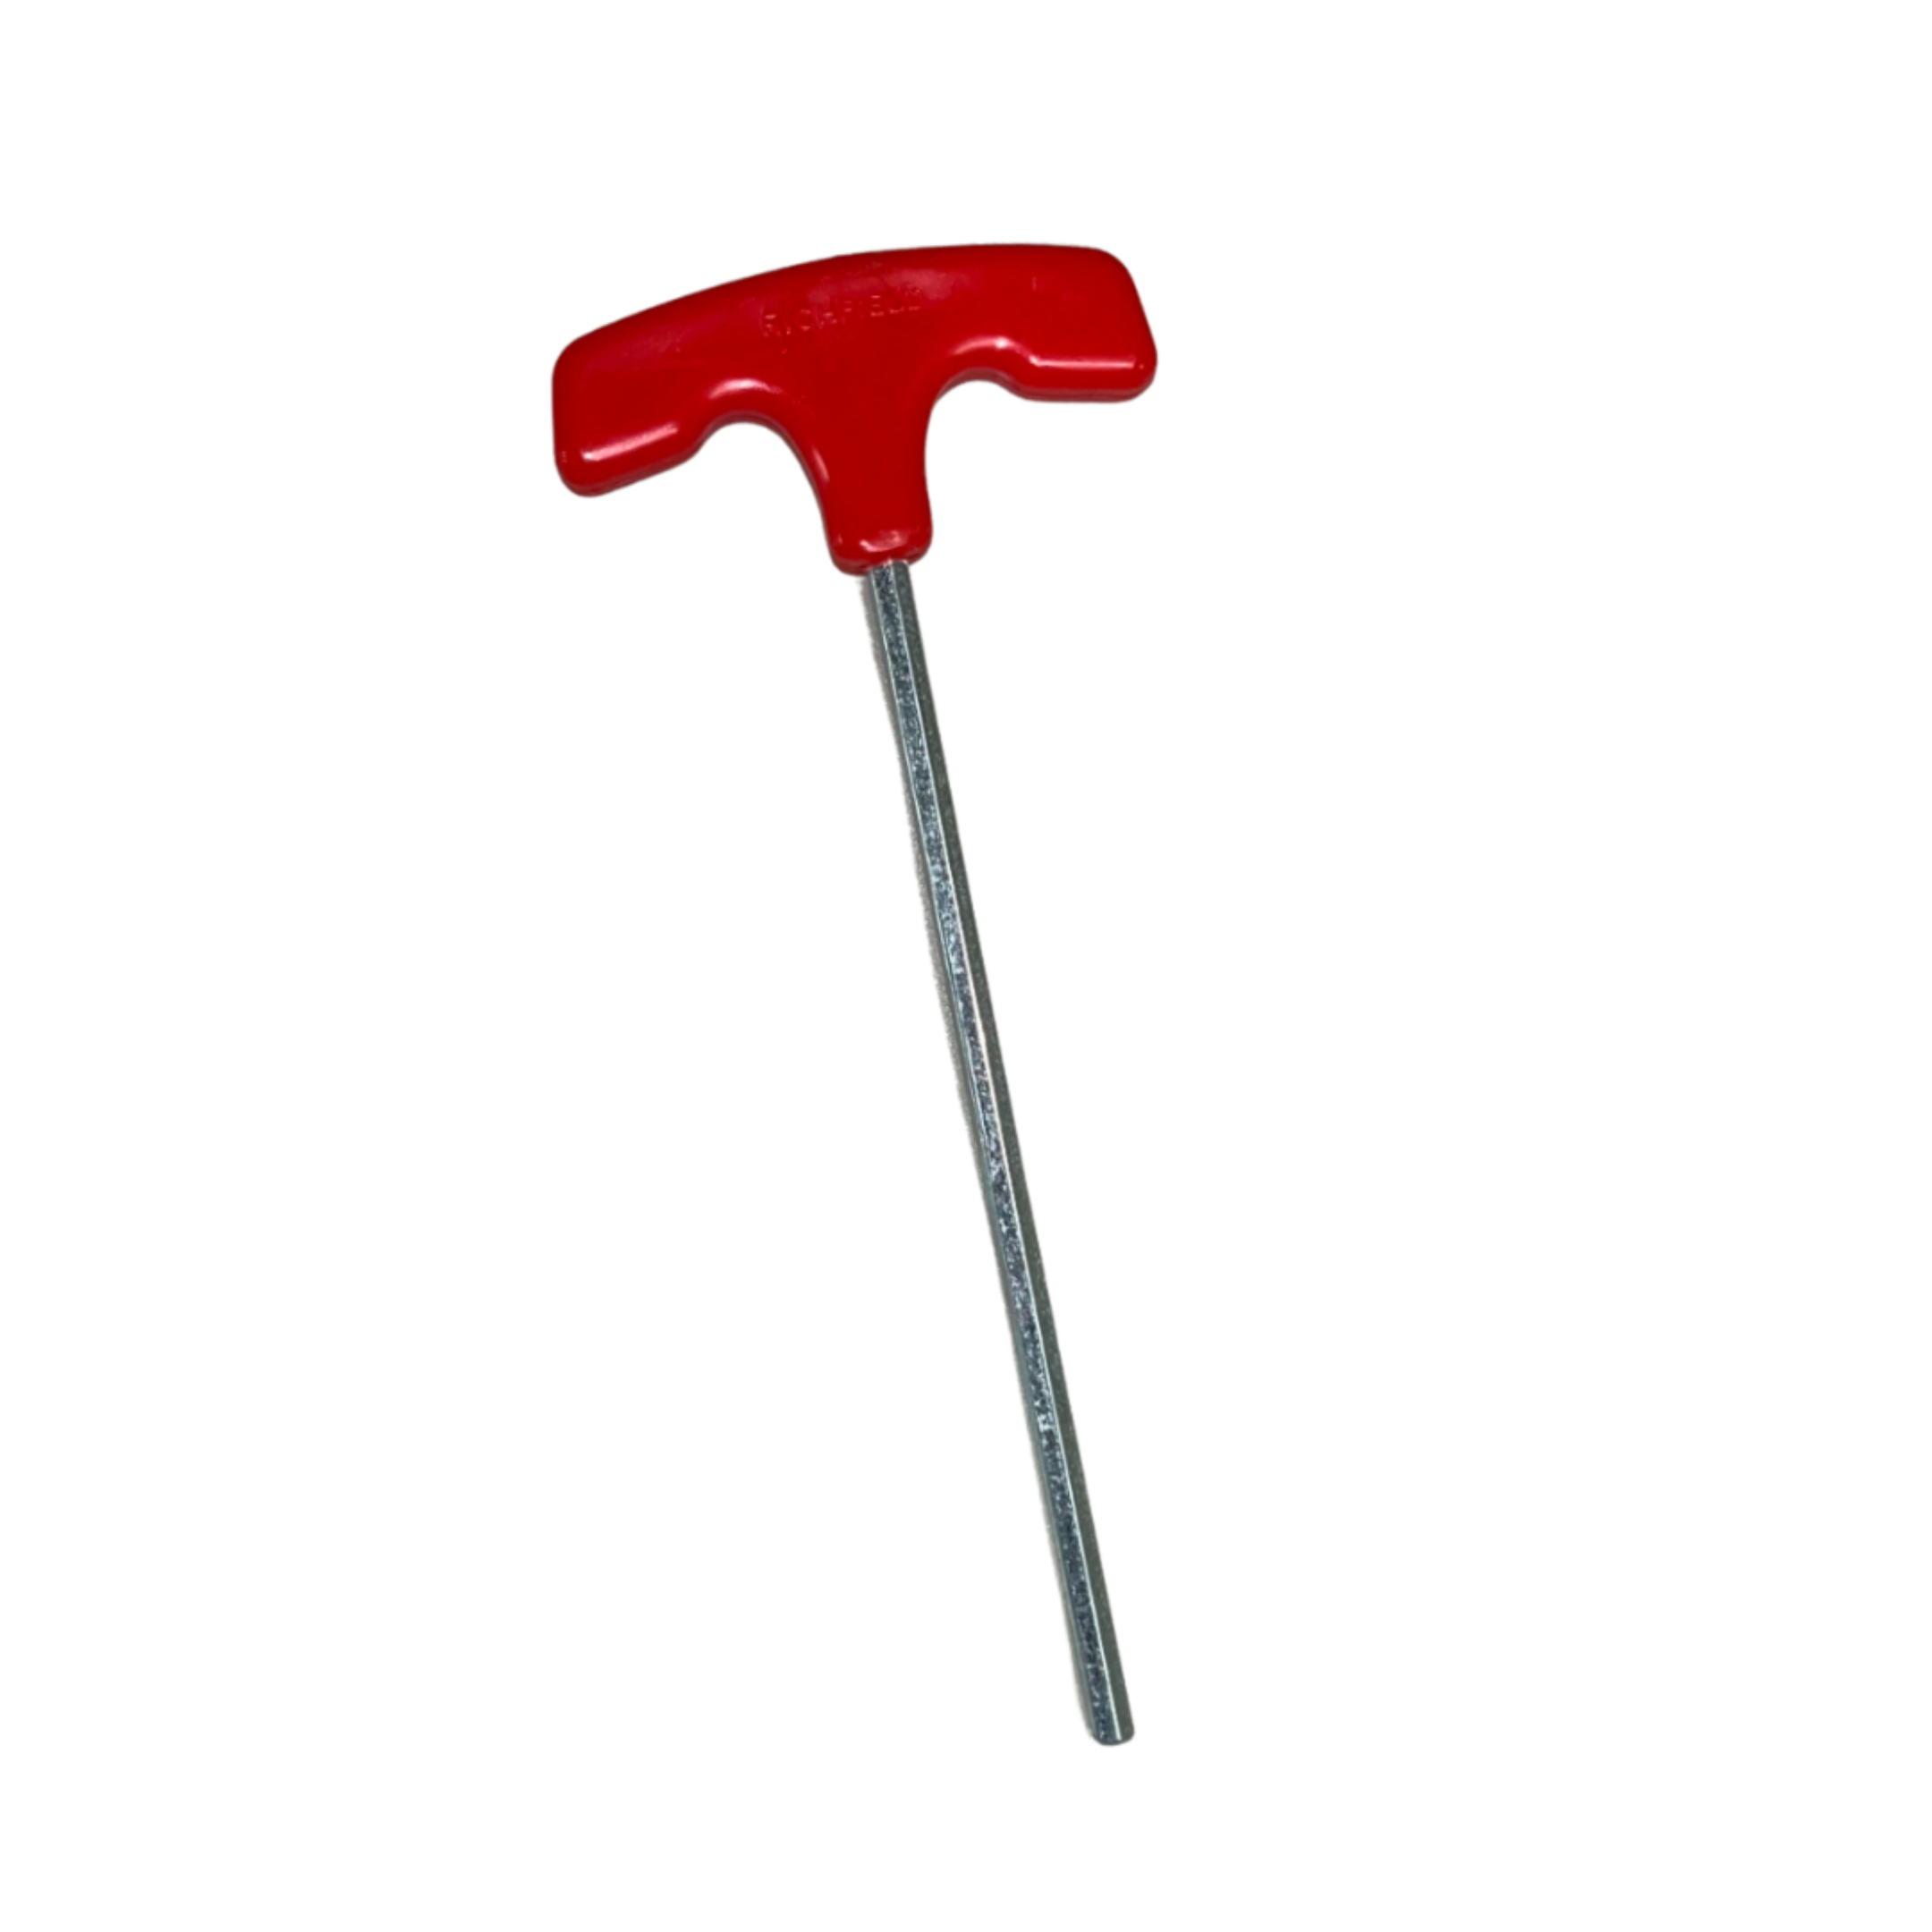
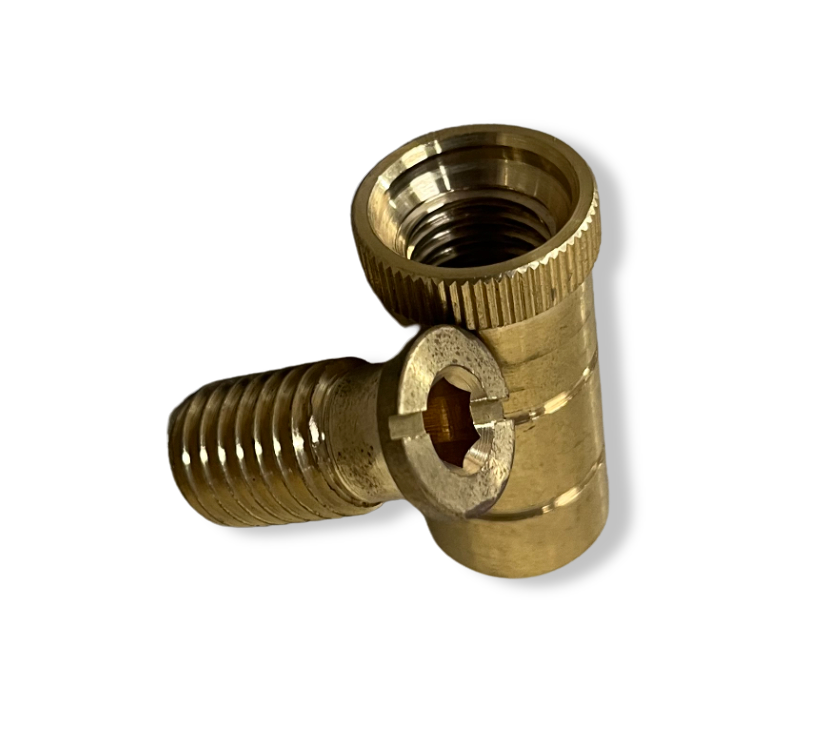
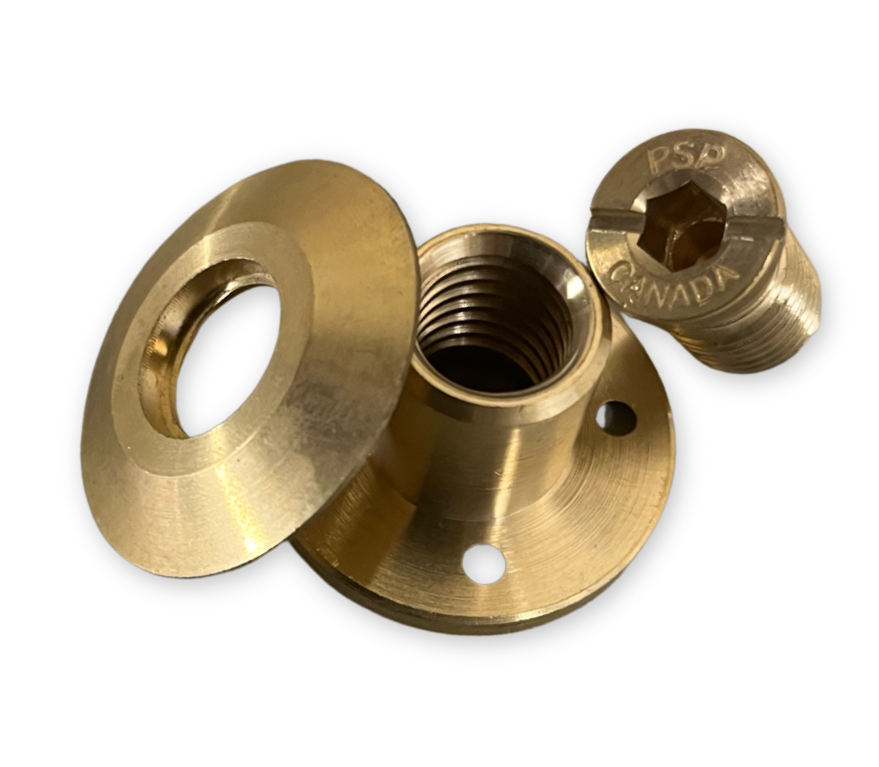
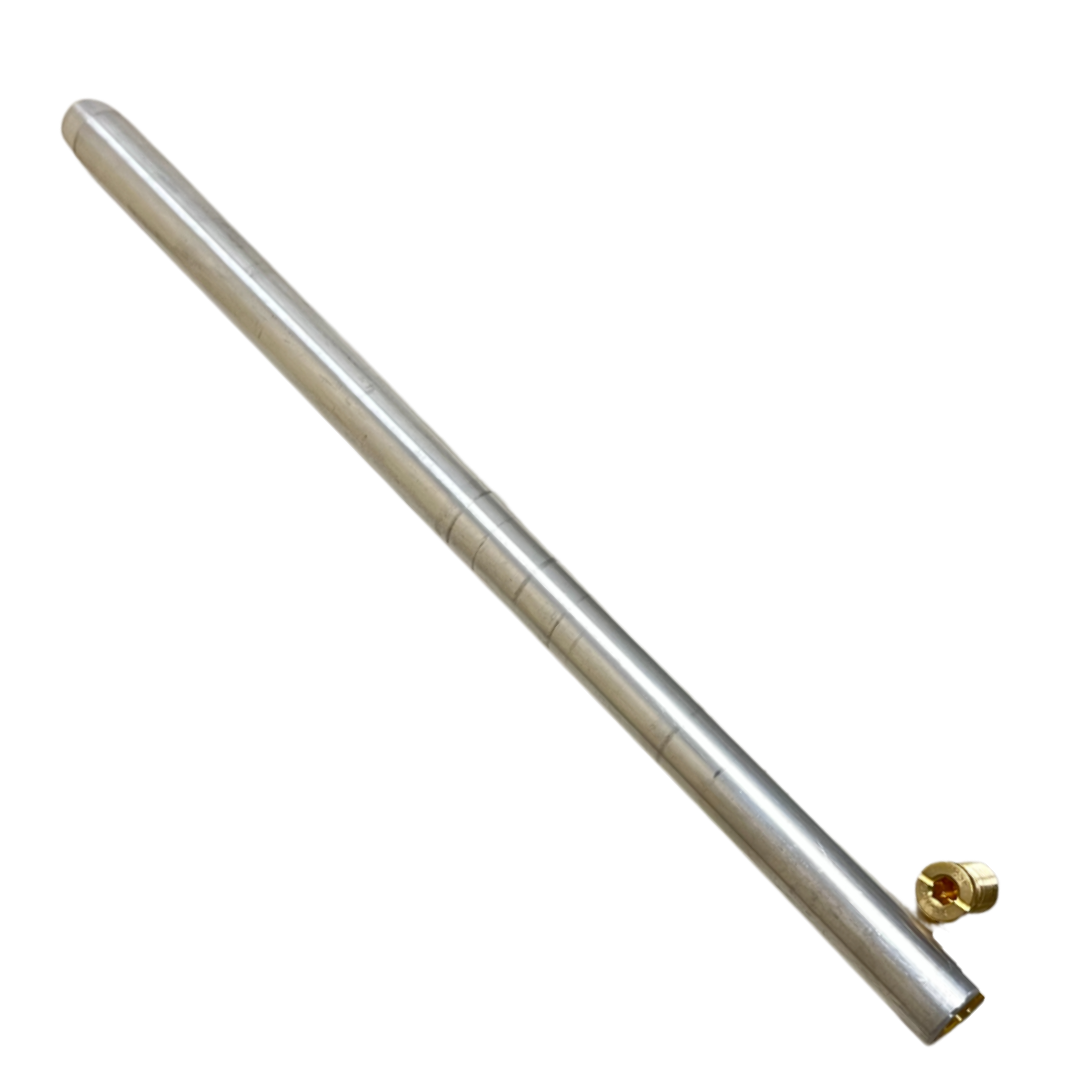
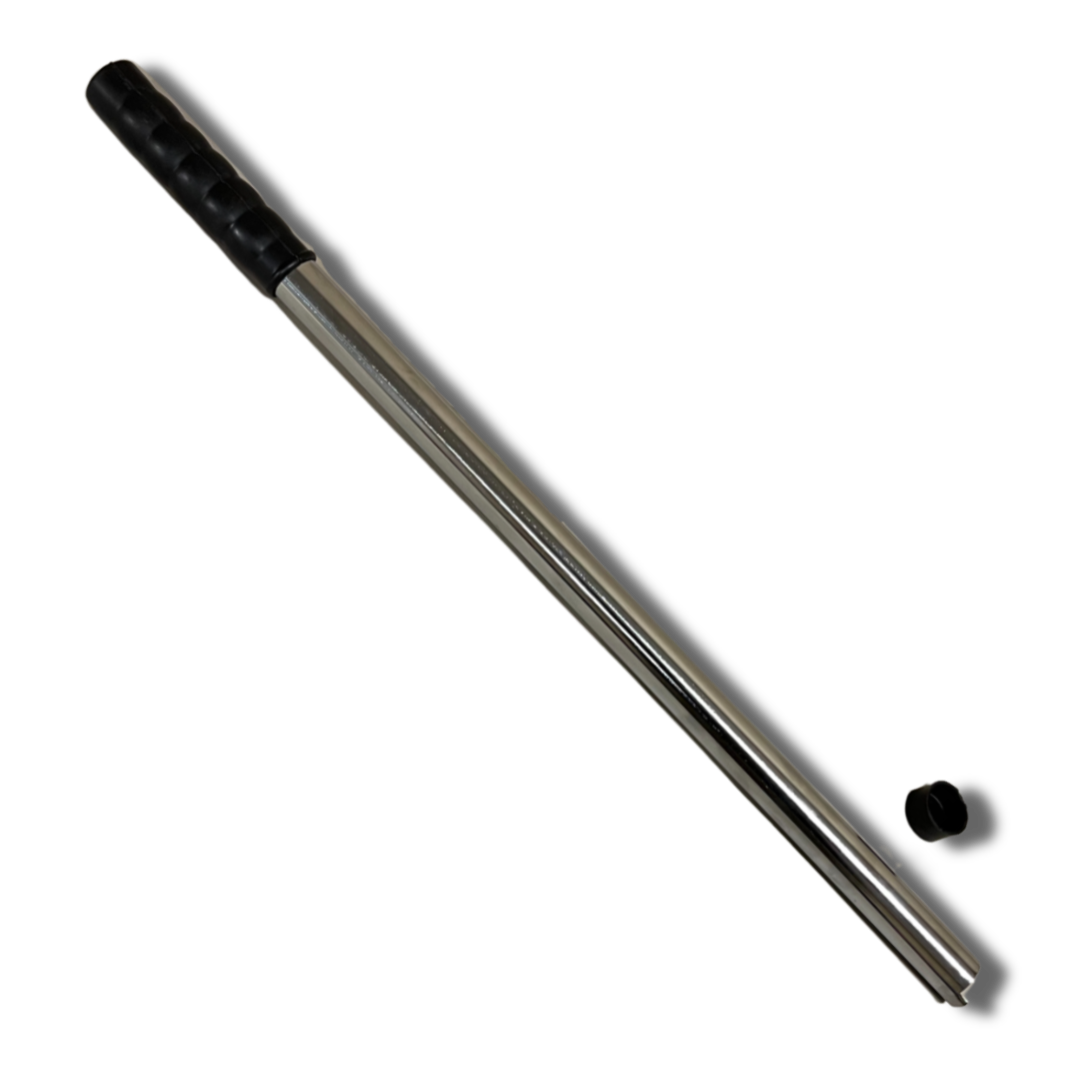
Hardware
Short Spring Standard Spring
Buckle Hex Key
Concrete Anchor Wood Anchor
Garden Stake Install Bar
Anchor Stake Spring Cover

Installation Steps
Installation Steps
Step 1
Remove ladders and other obstructions from the pool deck. Measure the pool and the cover to make sure of a fit. For a 3 ft. grid cover, the cover size will be 2 to 3 ft. larger than the pool in both directions for a 5 ft. grid cover is oversized 1 1/2 to 2 ft. Lay the cover over the pool and adjust for equal overlap to all corners of the pool. Overlap will be 11 to 14″ 5 ft. grid, 13 to 18″ 3 ft. grid. Pull cover tightly to remove packing wrinkles. Install buckles, springs and spring covers onto the straps and the 8 corner strap locations. Adjust to equal lengths.
Step 2
Install anchors at the corner of the cover first. To determine the anchor points, measure 18″ from the cover edge and at right angle to the cover, over the straps and mark. Now using a 3/4″ concrete bit in a rotaryhammer drill, drill 2 to 3″ deep holes and clean out concrete dust. Hammer the brass anchors using the tamping tool provided and insert the anchor screws into place using hex key provided.
Step 3
Attach the corner spring to the anchors using the installation rod provided. Use the rod by keeping the notched area towards the pool and pulling the handle away from the pool until the heel is free from the anchor. Insure the overlap is equal on sides and ends, adjustments can be made by adjusting strap lengths at the buckle. Springs should be 10 to 20% compressed for proper tension.
Step 4
Installing remaining buckles, springs and spring covers on the remaining straps. Install brass anchors as before by measuring back 18″ from the cover edge in a straight line with each strap. Place springs on the anchors with the rod starting at the centre of each side and working alternately from side to side.
Installation of wood anchors
Using a 1 1/2 wood drill 1/8 deep recess hole. At the centre of this hole drill a 3/4″ x 2″ deep hole, or through the wood. Drop in your anchor and fasten with the 4 wood screws provided.
Form fit installation
Lay out cover as above insuring the overlap is equal around the perimeter and starting at the centre of the sides and mark and drill for the brass anchors (4 – 2 on each side). Secure the springs alternating from side to side. Mark and drill the remaining holes and continue around pool again alternating from side to side.
Completion
On completition of the installation of your PSP safety cover, all springs should have equal tension and your cover should be straight and wrinkle free.
Removing your PSP Safety Cover
Insert the installation rod between the spring and the anchor. Tip the rod towards the cover to slip the spring off the anchor. Carefully pull the cover off the pool. Clean it, fold it, put it back in the mesh bag provided and hang it using your hex key, sink your anchors to deck level for summer.
A/B Measuring
A – B Measuring
1. Draw a sketch of the pool shape on the grid provided in the measuring sheet.
2. To represent the A – B line, mark 2 points on the deck about 3 feet away from the pool. Note that your A is always on the left of B as you face the pool and the pool is in front of your A – B line. This A – B distance should be about 2/3 rd’s of the total length of the pool. Make sure that the A – B line does not cross the pool.
3. Measure the A – B length and enter it in the A – B space provided on the sheet.
4. Use chalk to mark points clockwise around the entire edge (inside) of the pool at about 3 feet intervals. The first point should be directly across from the center of the A – B line. All the corners including the step should be marked and the inside curves should be marked at 1 foot intervals.
5. Any obstructions, like slides, legs, ladders, rock waterfalls (all non removable obstructions) within 18 inches away from the water edge should be marked. This could be done last.
6. Using a measuring tape, measure the distance from point A on the A – B line to all the points on the pool starting from #1 and record it in the A column of the A – B sheet. Likewise, measure the distance from B to all points on the pool to record it.
Note: Measure all radius corners. Make sure that all the radii are equal. A slight difference in each radius will hang the spa or will not cover the spa completely.

Warranty
Warranty
20 YEAR LIMITED WARRANTY
PSP FABRICATING INC. Warrants the purchaser of our safety cover that any defects in material or workmanship will be repaired or replaced, at the company’s discretion, free of charge within five (5) years of the purchase date.
• 6 to 20 years replacement @ 50% of the purchase price.
The following are excluded from the warranty:
- Your water level drops below 18” of the deck during the snow season
- Your PSP Safety Cover is used on any pool for which it was not designed.
- Your cover is subject to obvious misuse, improper installation, or damage caused by falling sharp objects (i.e. tree limbs).
PSP Fabricating does not cover service, installation, or freight under this warranty.

Ready to get started?